 Introduction
Get started
Basics
Sampler
Synthesizer
Mixer
Sample Store
Projects
Troubleshooting
AUv3
Credits
Mixer
Overview
Tap the second page ( see Basics 2.2) to view the Mixer.
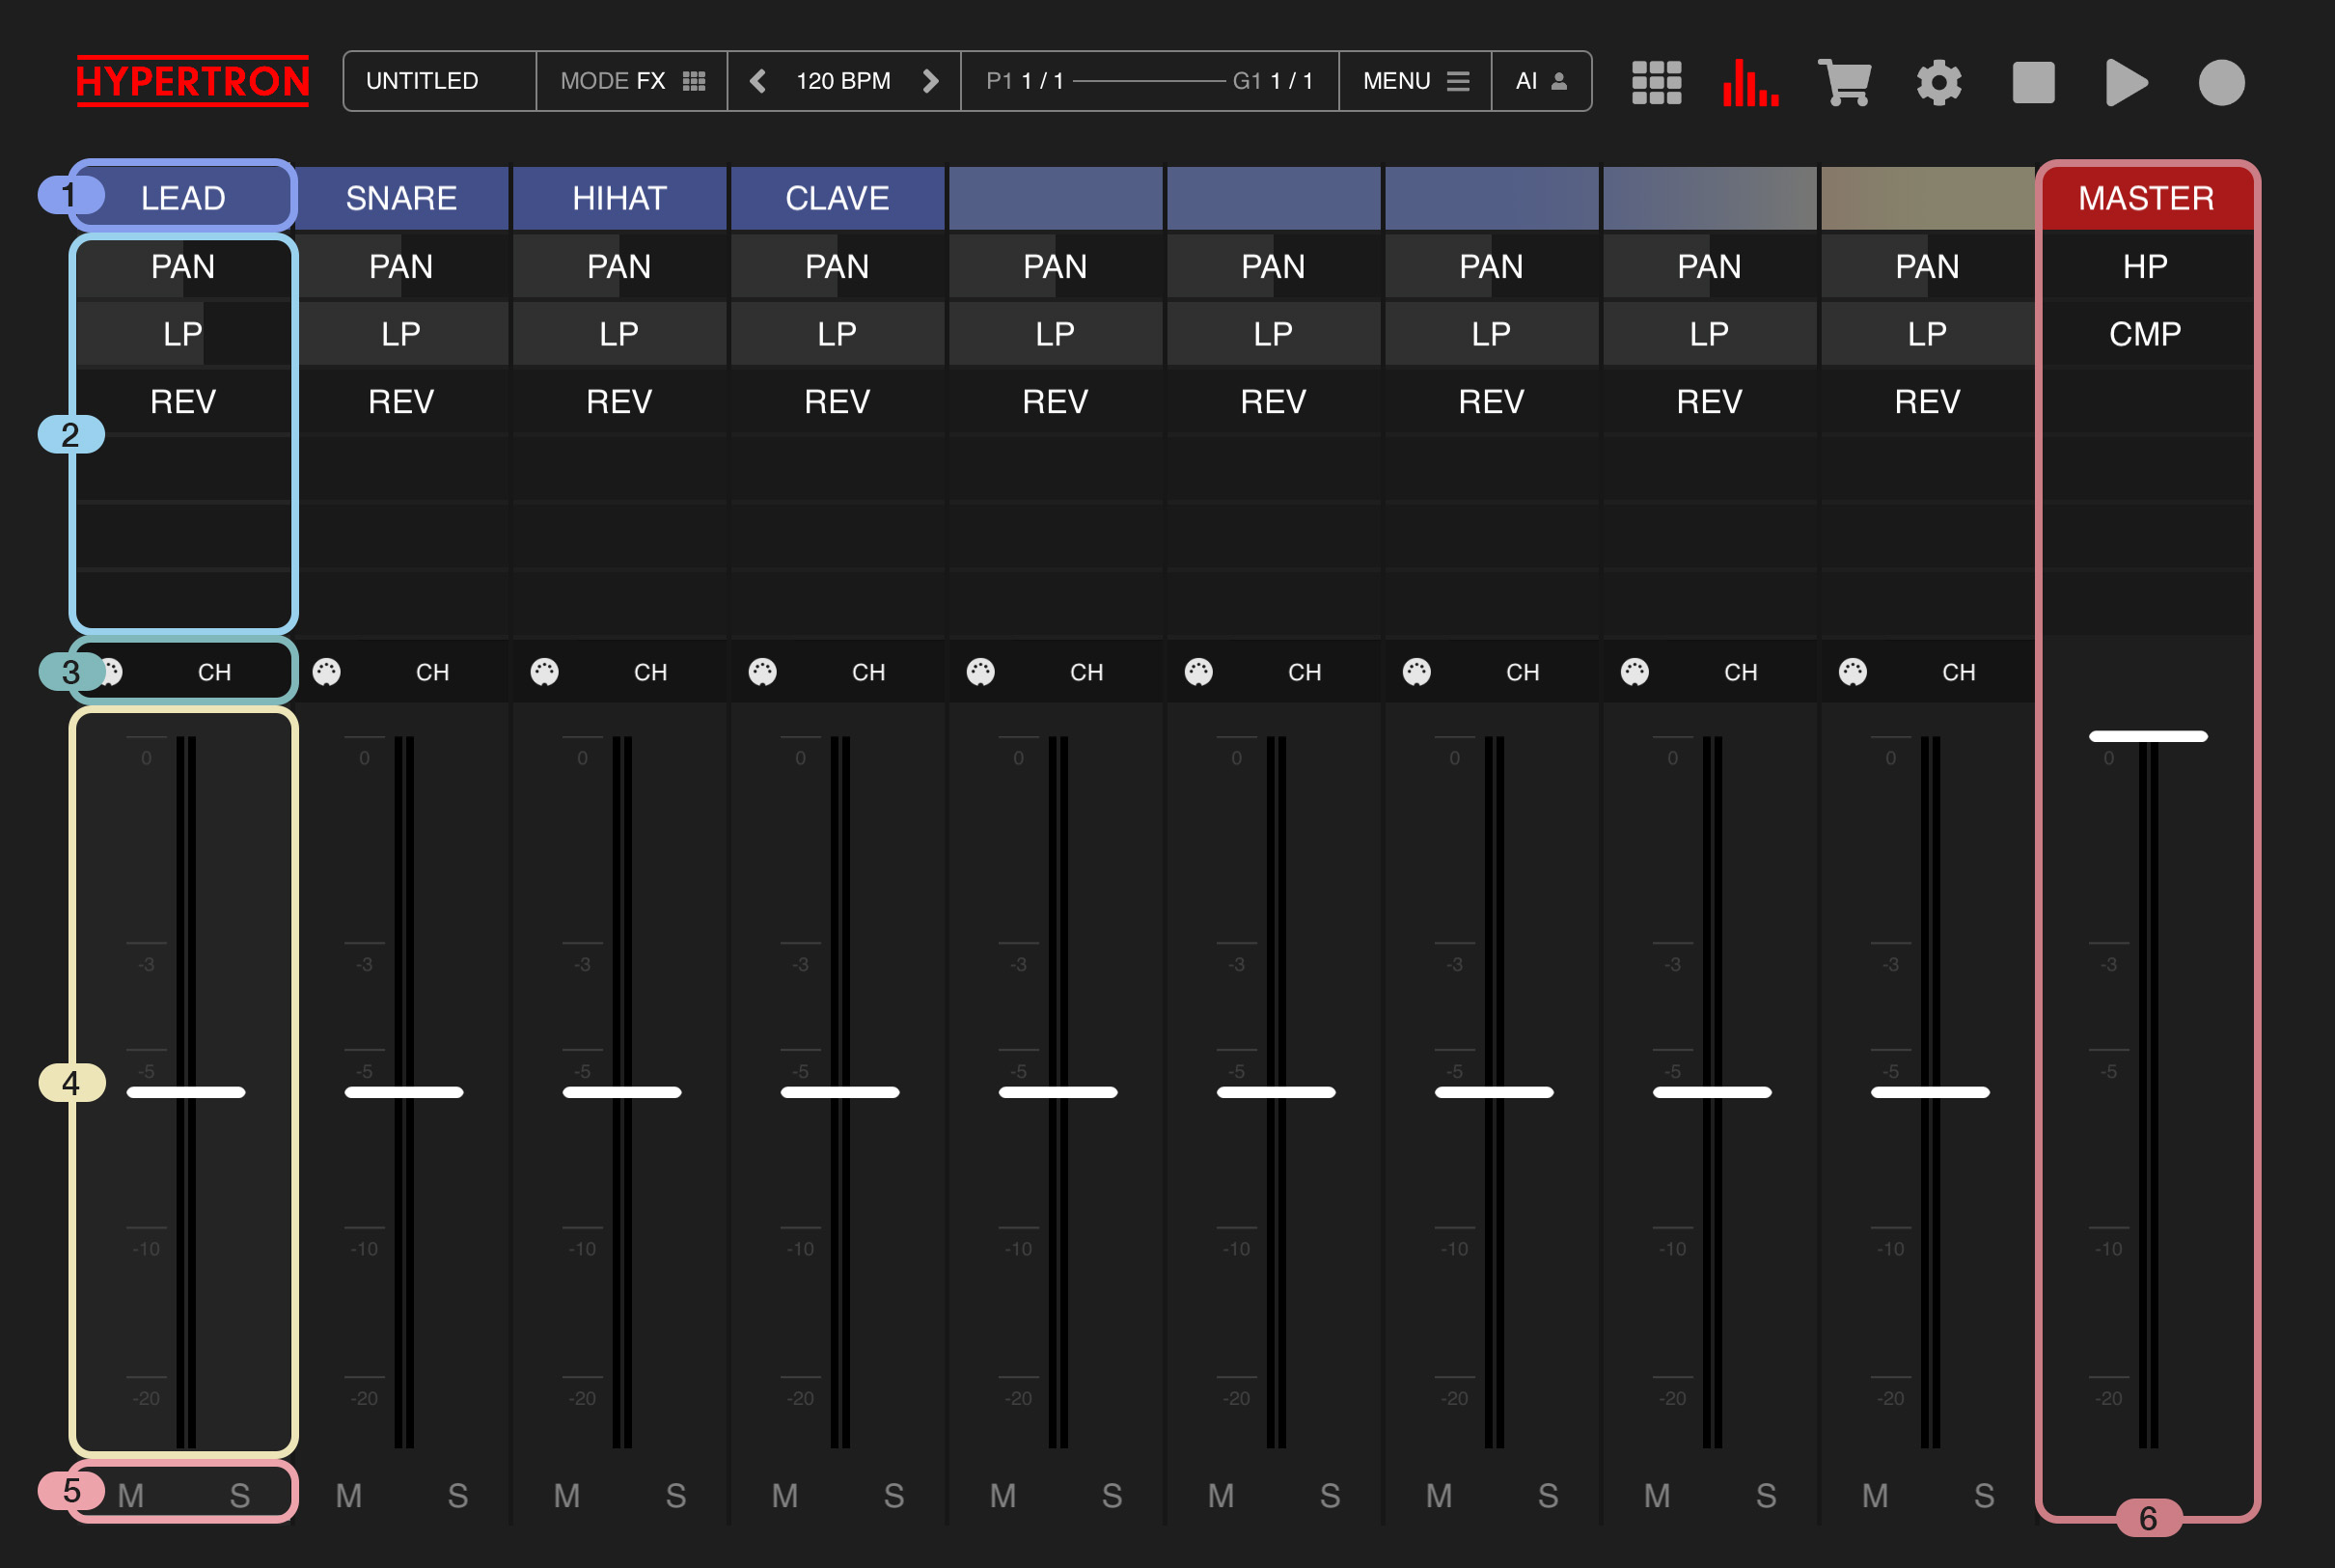
The Mixer lets you manage effects of Pads and assign their outputs, as well as and copy and paste channel settings between channels. Since channels are synonymous to Pads, there are 16 channels on iPad and 12 channels on iPhone and inside the AUv3 extension. There is also a masterbus channel when you scroll to the right.
1Track Title
1
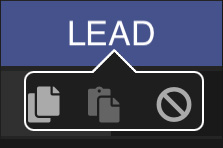
Tap the channel title to open a submenu, where you can copy and paste channel settings from one channel to another. It will copy effects, midi output channel and volume parameter.
2Effects
2
Each channel offers 6 effect slots.
Every Pad / channel can have one instance of each effect in the order of your choice.
You can press on an effect slot to open a dropdown menu, which will present a list of effects to choose from:
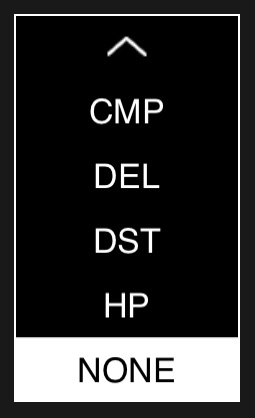
These are the available effects:
Pan PAN
Lowpass LP
Highpass HP *
Distortion DST *
Delay DEL *
Reverb REV *
Compressor CMP *
Bitcrusher BIT *
Repeater RPT *
Phaser PHA *
Tape TAP *
Gain GAN
* (available in PRO IAP)
Any changes you make to the effect selection are also reflected in the main view, which means you can access newly added effects there as well, by pressing the Pad and sliding horizontally in Effects Mode (see Basics 1.2). In order to get rid of an effect, simply tap on it and tap the REMOVE Icon.
Watch this video to learn more about how to manage effects.
Additional Settings
Some effects offer additional parameters when you tap them inside the Mixer:
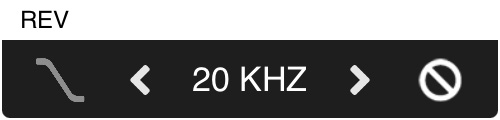
REV has Low Pass Filter option.
DEL has a Frequency option, letting you choose from the following delay times:
1/1, 1/2., 1/2, 1/2T, 1/4., 1/4, 1/4T, 1/8., 1/8, 1/8T, 1/16., 1/16, 1/16T, 1/32., 1/32, 1/32T

CMP has an Attack Parameter with fast, medium and slow attack times.
Here you will also find a Release Parameter, ranging from 10 ms to 800 milliseconds.
Last but not least you'll find a Ratio button, toggline between these values: 1.5, 2,4, 8 and 40.

TRM is basically a tremolo effect, which is great for rythmic modulation.
It has a Frequency parameter, letting you choose from the following values:
1/1, 1/2., 1/2, 1/2T, 1/4., 1/4, 1/4T, 1/8., 1/8, 1/8T, 1/16., 1/16, 1/16T, 1/32., 1/32, 1/32T
There is also a parameter which lets you choose between hard and soft phase transition, ranging from 0 to 1.
Finally there is an INV button, letting you invert the phase.
BIT has a Sample Rate parameter, ranging from 100 Hz to 20 KHZ
PHA has a Frequency parameter, letting you choose from the following values:
1/1, 1/2., 1/2, 1/2T, 1/4., 1/4, 1/4T, 1/8., 1/8, 1/8T, 1/16., 1/16, 1/16T, 1/32., 1/32, 1/32T
RPT has a Lock Feature, which syncs the repeater to the beat.
The Hold button will keep the effect going, even after it was pressed. In order to release the Repeater in that mode, you will need to slide to the very left of the effect so it reaches zero ( slide to the bottom of the selected Pad in Main View )
Every Pad / channel can have one instance of each effect in the order of your choice.
You can press on an effect slot to open a dropdown menu, which will present a list of effects to choose from:
These are the available effects:
Pan PAN
Lowpass LP
Highpass HP *
Distortion DST *
Delay DEL *
Reverb REV *
Compressor CMP *
Bitcrusher BIT *
Repeater RPT *
Phaser PHA *
Tape TAP *
Gain GAN
* (available in PRO IAP)
Any changes you make to the effect selection are also reflected in the main view, which means you can access newly added effects there as well, by pressing the Pad and sliding horizontally in Effects Mode (see Basics 1.2). In order to get rid of an effect, simply tap on it and tap the REMOVE Icon.
Watch this video to learn more about how to manage effects.
Additional Settings
Some effects offer additional parameters when you tap them inside the Mixer:
REV has Low Pass Filter option.
DEL has a Frequency option, letting you choose from the following delay times:
1/1, 1/2., 1/2, 1/2T, 1/4., 1/4, 1/4T, 1/8., 1/8, 1/8T, 1/16., 1/16, 1/16T, 1/32., 1/32, 1/32T
CMP has an Attack Parameter with fast, medium and slow attack times.
Here you will also find a Release Parameter, ranging from 10 ms to 800 milliseconds.
Last but not least you'll find a Ratio button, toggline between these values: 1.5, 2,4, 8 and 40.
TRM is basically a tremolo effect, which is great for rythmic modulation.
It has a Frequency parameter, letting you choose from the following values:
1/1, 1/2., 1/2, 1/2T, 1/4., 1/4, 1/4T, 1/8., 1/8, 1/8T, 1/16., 1/16, 1/16T, 1/32., 1/32, 1/32T
There is also a parameter which lets you choose between hard and soft phase transition, ranging from 0 to 1.
Finally there is an INV button, letting you invert the phase.
BIT has a Sample Rate parameter, ranging from 100 Hz to 20 KHZ
PHA has a Frequency parameter, letting you choose from the following values:
1/1, 1/2., 1/2, 1/2T, 1/4., 1/4, 1/4T, 1/8., 1/8, 1/8T, 1/16., 1/16, 1/16T, 1/32., 1/32, 1/32T
RPT has a Lock Feature, which syncs the repeater to the beat.
The Hold button will keep the effect going, even after it was pressed. In order to release the Repeater in that mode, you will need to slide to the very left of the effect so it reaches zero ( slide to the bottom of the selected Pad in Main View )
3MIDI IN & MIDI OUT
3
In this area you will find two controls:
If you don't want to hear the sound of the Pad and only want to trigger external gear, enable the BYPASS SOUND ON MIDI OUT option in Settings. (see 6.3.2)
3.1.MIDI IN
When you tap this button, the connected MIDI keyboard will always be assigned to this pad or channel. If MIDI IN hasn’t been activated on any channel, the connected MIDI keyboard will be automatically assigned to the selected Pad.3.2.MIDI OUT
When you press this dropdown menu, you can choose the external MIDI track channel. This determines which MIDI output the signal is sent to.If you don't want to hear the sound of the Pad and only want to trigger external gear, enable the BYPASS SOUND ON MIDI OUT option in Settings. (see 6.3.2)
4Channel Output
4
In Standalone, this dropdown can be used to assign channel outputs to the Main Output, one of 5 busses or external output channels from the USB interface, if available. The bus will become visible, once you have routed at least one channel to that bus (see Mixer 7).
Inside the AUv3, this dropdown is used for assigning the output to other multi-bus Audio Unit instances. This is useful for routing different instruments, such as kick and snare, to one bus, and other instruments to another. That way, you can take advantage of the host’s mixer and extend your audio tracks with third-party plugins.
Inside the AUv3, this dropdown is used for assigning the output to other multi-bus Audio Unit instances. This is useful for routing different instruments, such as kick and snare, to one bus, and other instruments to another. That way, you can take advantage of the host’s mixer and extend your audio tracks with third-party plugins.
5Volume
5
A volume control for your pad / channel.
6Mute & Solo
6
Here are two controls for each Pad / channel:
5.1.Mute
Tap here to instantly mute your Pad / channel.5.2.Solo
Temporarily mutes all other Pads and only plays back the pattern of the selected Pad. If SOLO is active and you select another Pad, it will set focus to that Pad instead.7Busses
7
There are up to 5 busses available. A bus can hold up to 5 effect units and be routed to either Main Output or an external output from the USB device, if available. Busses will become visible, once you route at least one Pad /channel to them. There is also a setting which, if turned on, will make busses visible at all times (see Menu 6).
8Main Bus
8
Don’t forget that there’s a main out stereo channel when you scroll to the right, where you can add and adjust effects just like on regular tracks.