 Introduction
Get started
Basics
Sampler
Synthesizer
Sample Store
Projects
Troubleshooting
AUv3
Credits
Editor
Overview
Tap EDIT in the Main View to open the Editor. See 9.8 for more information.
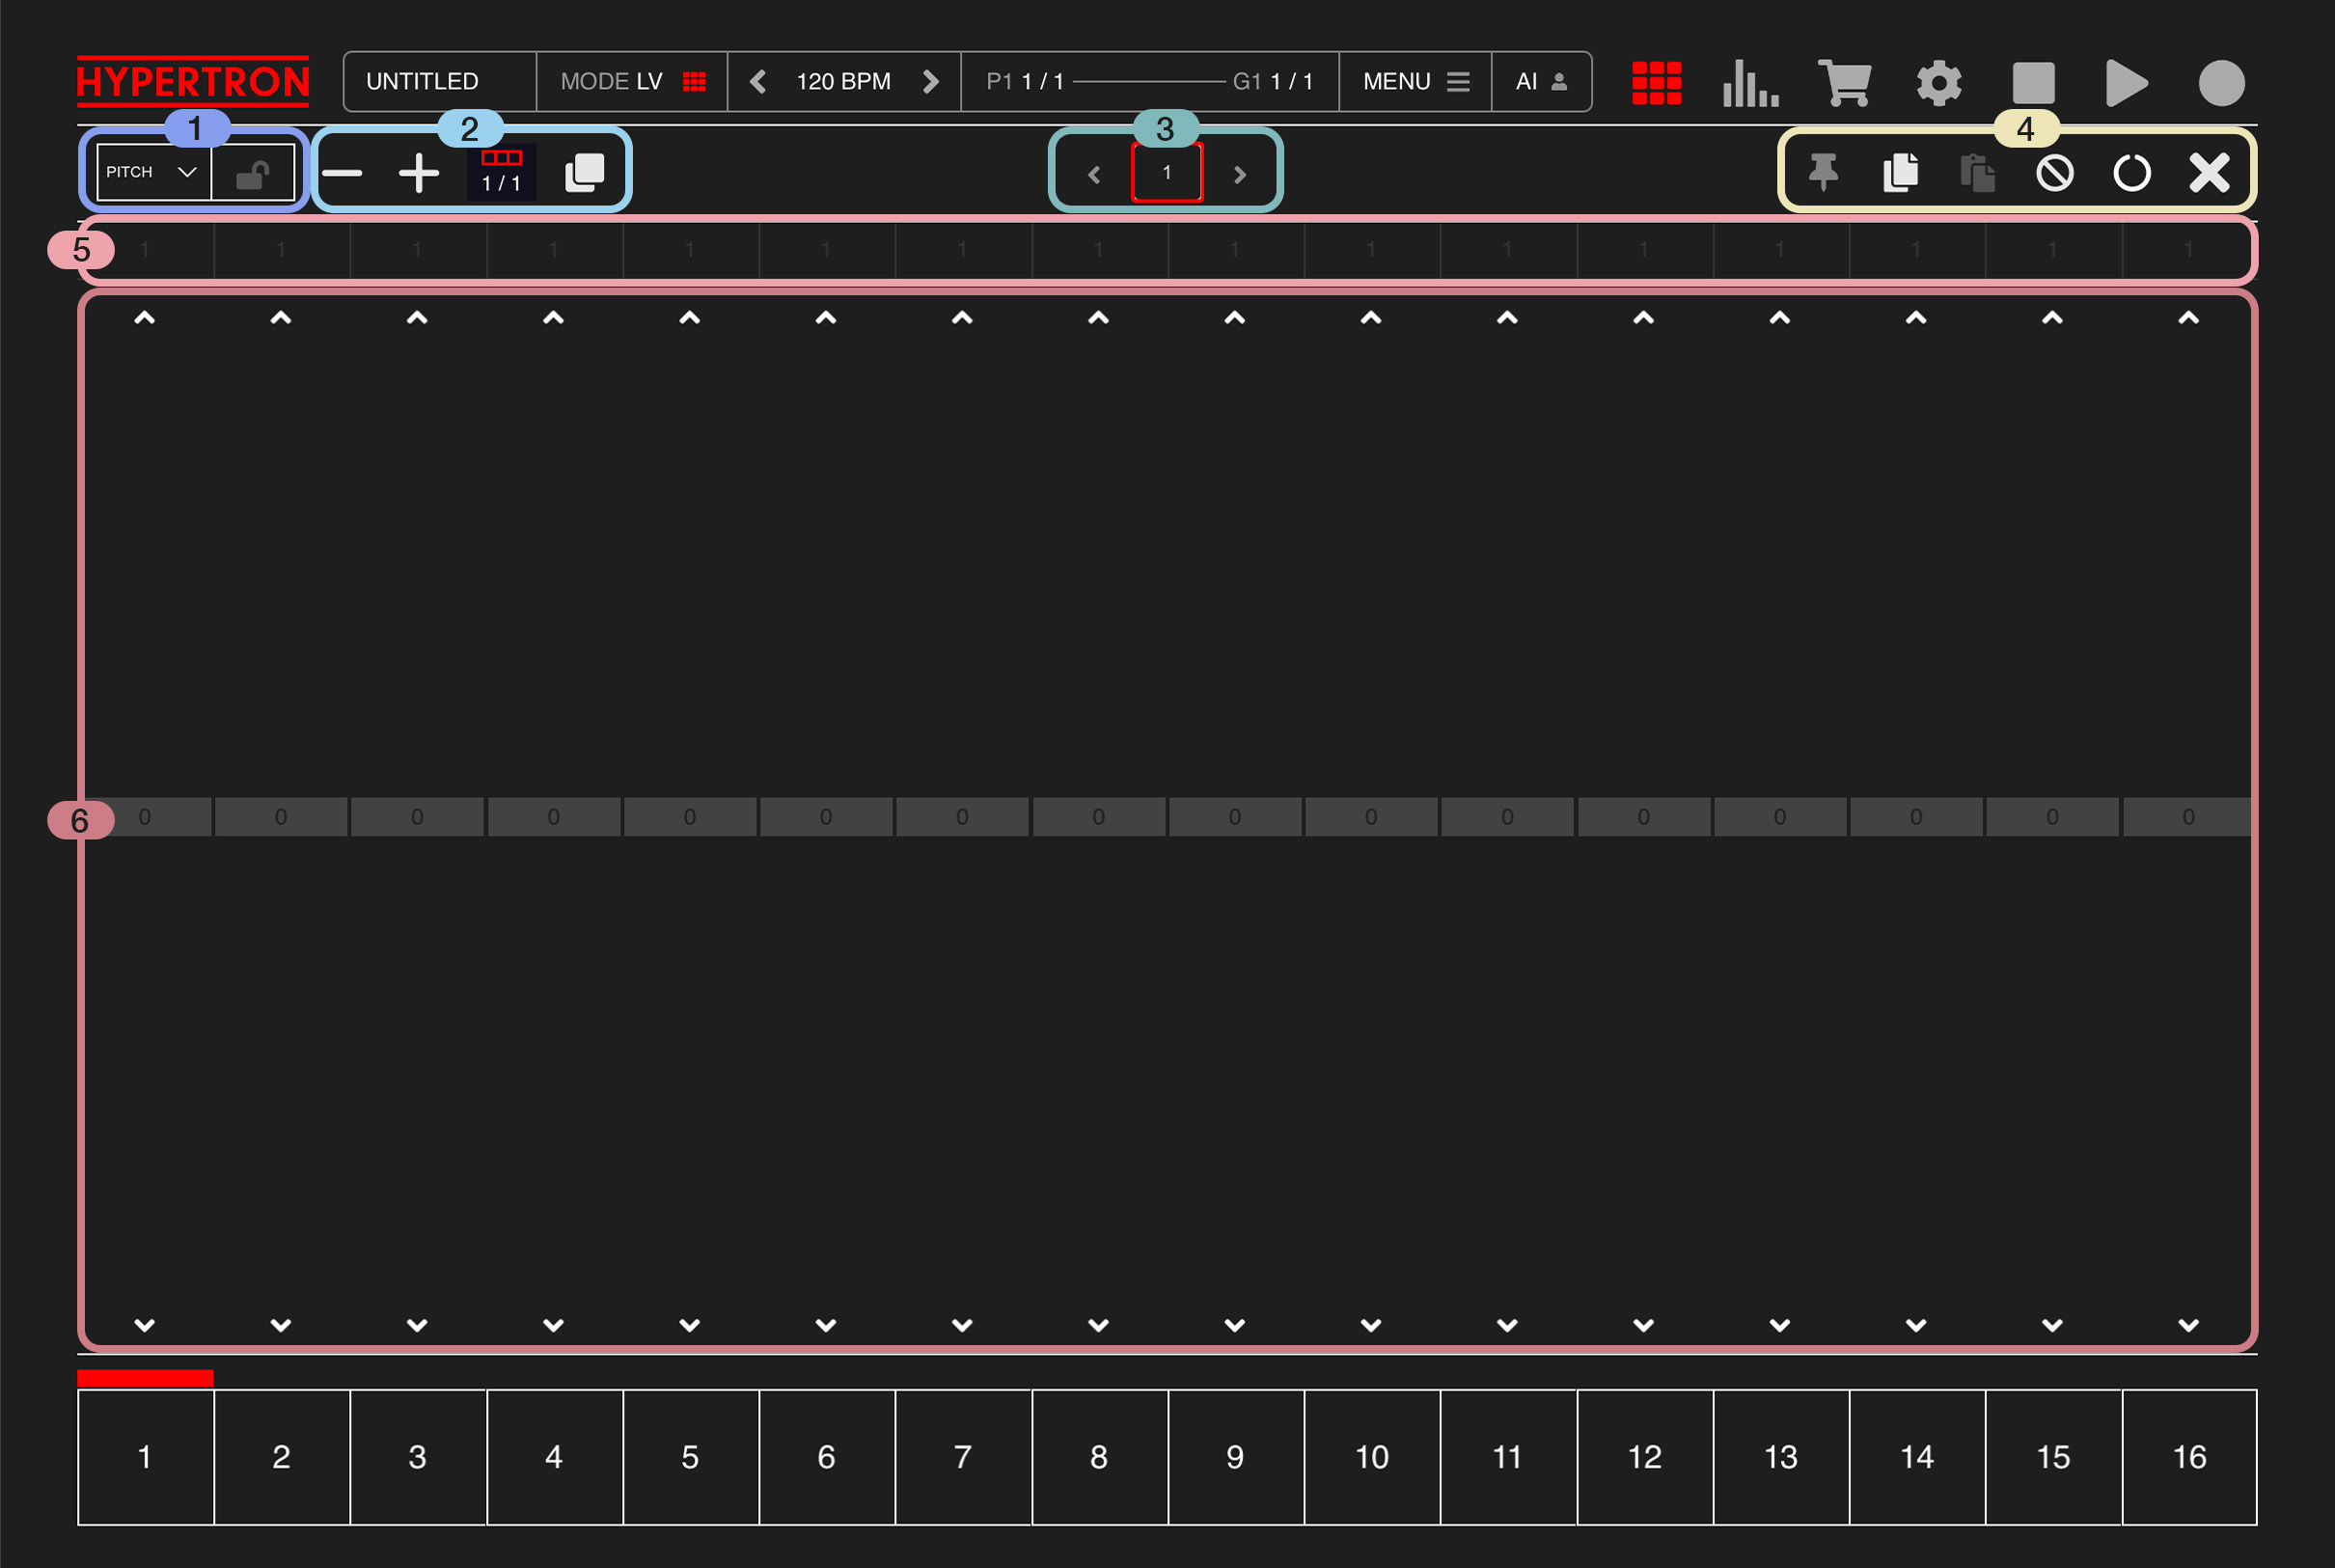
Inside the Editor you can add, duplicate and remove bars, change pitch for every individual step, copy and paste patterns or fine-tune effect automizations.
1Dropdown Menu
1
On the left side you'll finde two buttons:

1.1.Editor View
Press the dropdown menu on the left to choose from a list of viewing options. The default view is PITCH, which lets you adjust the sequencer steps, by turning individual steps on or off and adjusting their pitch value. Inside the list you will also find every effect of the selected Pad to choose from for editing effect automations.1.2.Effect Automation Lock
The second button has a LOCK icon and signals if the current effect automation is active or not. You can also toggle the status on and off yourself. When the lock is closed, automation is applied to the current Pad ( it's active in all Takes in all Groups ) and swipe gestures won't work on these Pads in Effects Mode anymore. The only exception is when REC is active and a Pad is pressed, then it will overwrite the current automation and set the automation to active again.2Bar Length
2
One cool feature of Hypertron is that Pads can have individual bar lengths, so the kick drum could have one bar while the bass line has four. This makes Hypertron far more flexible than many other samplers. One bar consists of 16 steps, and a Pad can have up to 64 bars maximum.

Here are a number of controls that appear in multiple places in Hypertron and help you adjust the bar length of the current Pad, from left to right:
Here are a number of controls that appear in multiple places in Hypertron and help you adjust the bar length of the current Pad, from left to right:
2.1.Remove Bar
Tap here to remove one bar from the total amount of bars of the selected Pad.2.2.Add Bar
Tap here to add one, empty bar to the total amount of bars of the selected Pad.2.3.Bar Info
This Element shows you the current bar and the total amount of bars of the selected Pad.2.4.Duplicate Bars
Tap here to double the current amount of bars. When it has one bar, it will become two and if it has 4 bars, it will become 8 bars. The patterns of your bars get automatically duplicated as well, which makes it easy to create longer parts.3Bars
3
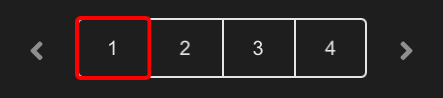
This element displays all bars and helps you navigate through them, starting with one bar. On an iPhone it can show up to 4 bars in a row and on an iPad it shows up to 8 bars. If the selected Pad has more bars than can be displayed, the arrows at the left and right help you scroll through all bars. You can also tap on a bar to jump to that bar, which makes it easy to access all steps inside that bar.
4Tools
4

Here you'll find a bunch of useful tools, from left to right:
4.1.Sticky
Tap this PIN Icon to toggle between sticky and non-sticky bar view. When activated, it will keep the current bar in view at all times. It will automatically be enabled once you alter a step or effect automation inside the editor view, making it easier to focus on the current bar.4.2.Copy bar
Copies the pattern of the current bar into a buffer.(On iPhone this button toggles between copy and paste functionality)
4.3.Paste bar
(Hidden on iPhones)Paste the pattern from the buffer into the current bar.
4.4.Reset
Resets and erases the complete pattern of the selected Pad. The bar length will stay the same.4.5.Loop
Tap this button to toggle a one-bar looping function on and off. When the looping function is on, it will keep repeating the current bar, meaning the bar that the playhead is currently running through. This might be helpful if you want to change one specific bar but need more run-throughs to get it right.4.6.Close
Tap this button to close the Editor.5Slices
5
There are 16 dropdowns for assigning slices to steps, one for each sequencer step. Press on a dropdown to see the list of available slices. These slices must first be created in the Sampler using Multi-Slice mode (see Sampler 1.2 ) before they appear in the dropdowns.
Here is an example for how you could use it: Let’s say you have merged two samples into one using the Sample Editor (see Sampler 1.3) one closed and one open hi-hat sound. In Multi-Slice mode (see Sampler 1.2), you then split the sample into two slices and assign the open hi-hat slice to a step of your choice, allowing for more dynamics and variety.
Here is an example for how you could use it: Let’s say you have merged two samples into one using the Sample Editor (see Sampler 1.3) one closed and one open hi-hat sound. In Multi-Slice mode (see Sampler 1.2), you then split the sample into two slices and assign the open hi-hat slice to a step of your choice, allowing for more dynamics and variety.
6Editor View
6
When PITCH is selected (see 1.1), you have 16 steps in the piano roll, which you can individually turn on and off. You can also press a step and slide up or down to change its pitch value. Alternatively, use the arrows at the top to raise the pitch by one semitone, or the arrows at the bottom to lower it by one semitone.
When you press a step and slide horizontally, the same pitch value will be applied to all other steps as well. This feature can be turned off by enabling MENU > SETTINGS > FREE PITCH DRAW.
When you press a step and slide horizontally, the same pitch value will be applied to all other steps as well. This feature can be turned off by enabling MENU > SETTINGS > FREE PITCH DRAW.